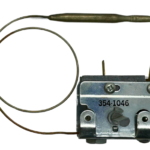
Mounting a capillary thermostat doesn’t need to be a daunting task. The key is understanding the type of capillary thermostat required for your specific application. Consider the bulb type and capillary tubing involved. Here, we’ll break down the essential elements for selecting and installing a capillary thermostat. For further assistance or specific application inquiries, our customer service team is ready to help.
Choosing the Right Capillary Thermostat
Several factors are crucial when designing a bulb and capillary thermostat switch. The most important elements include bulb diameter and length restrictions, capillary tube length, and switching temperature.
Bulb Diameter and Length Restrictions
When designing a bulb, size or volume requirements must be considered. If there’s a restriction on length, the outside diameter may need adjustment. In cases of retrofitting an existing capillary switch, the thermowell or chamber size might dictate the bulb’s dimensions.
Capillary Tube Length
Determine the capillary tube length by considering the switch location and the distance from the bulb. It’s advisable to leave extra length on your tube, as it can be coiled neatly out of the way. Avoid sharp edges and tight bends to prevent crimping the tube.
Switching Temperature
Proper bulb placement is crucial for accurate temperature readings. Avoid placing the bulb too close to heaters or chillers to prevent false readings. Positioning the bulb in the center of the fluid or gas mass is usually best. If you’re uncertain, an adjustable switch might be beneficial, allowing you to fine-tune and return it for precise calibration.
Understanding Fill Materials
Not all bulbs, probes, and capillary tubes use the same fill material. Some use fluids, while others use gases, depending on the application. Factors influencing fill material choice include:
- The material being sensed for temperature
- The switch’s temperature range
- Other external requirements
Many capillary tubes use a variation of an alcohol fill, with some containing added odors to detect leaks. For specific application advice, contact one of our customer service representatives.
Mounting the Capillary Thermostat
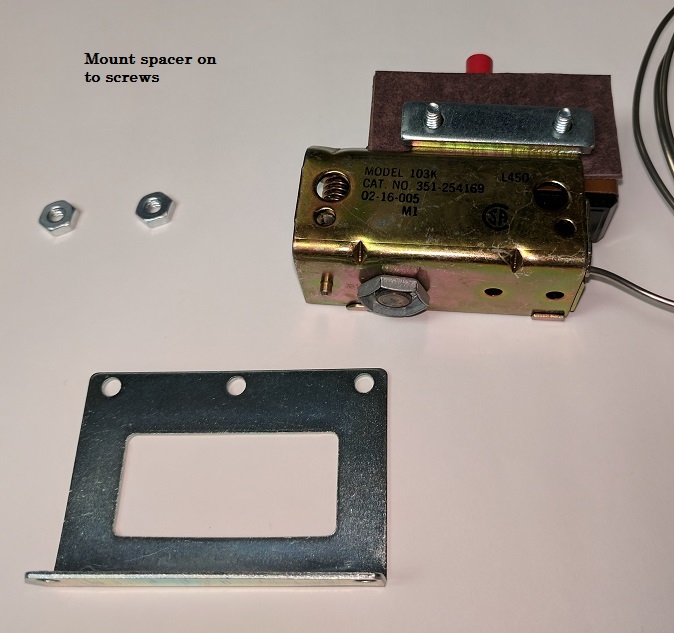
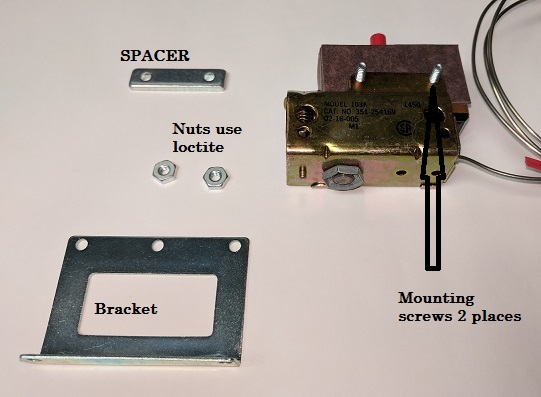
Once you’ve selected the appropriate thermostat, mounting it is straightforward. Senasys thermostats come with a bottom mounting bracket, which can be assembled during installation. Follow these simple steps:
- Mount the spacer over the screws.
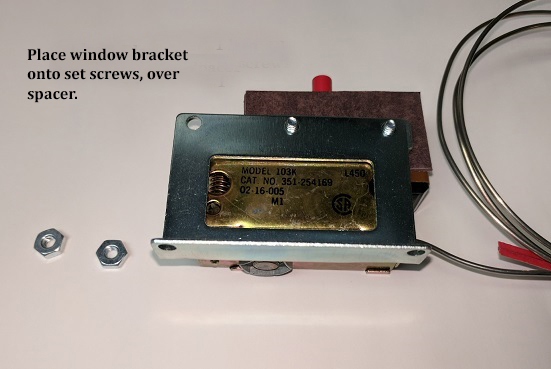
- Place the bracket over the spacer.
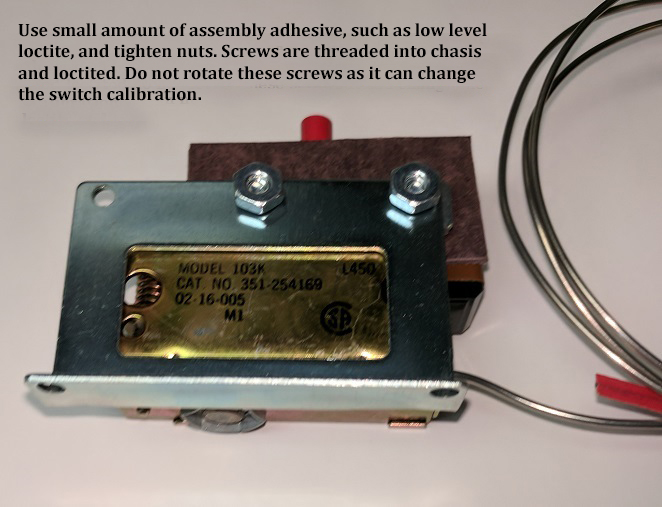
- Apply a small amount of Loctite and tighten the screws. Be careful not to rotate the screws within the chassis, as this could slightly alter the switch calibration.
By following these guidelines, you can ensure a smooth and accurate installation of your capillary thermostat. For further assistance or specific application inquiries, our customer service team is ready to help.